Getting Started with Contain Base
This guide will walk you through the initial steps of connecting to your Kubernetes cluster and preparing to deploy your first application.
Connecting to Your Cluster
The method for connecting to your cluster depends on where the cluster's control plane is hosted.
The GitOps Workflow
While using the Kubernetes API directly is useful for inspection and troubleshooting, the primary way you will manage your applications on the Contain Platform is through Git. See the Deployment Service Introduction for more information.
Making direct changes to the cluster (e.g., with kubectl apply or kubectl
edit) is discouraged, as it bypasses the GitOps workflow. This can lead to
inconsistencies between the desired state in your repository and the actual
state of your applications. Depending on your role, you may only have
read-only access to the cluster.
Managed Clusters (Where we manage the control plane)
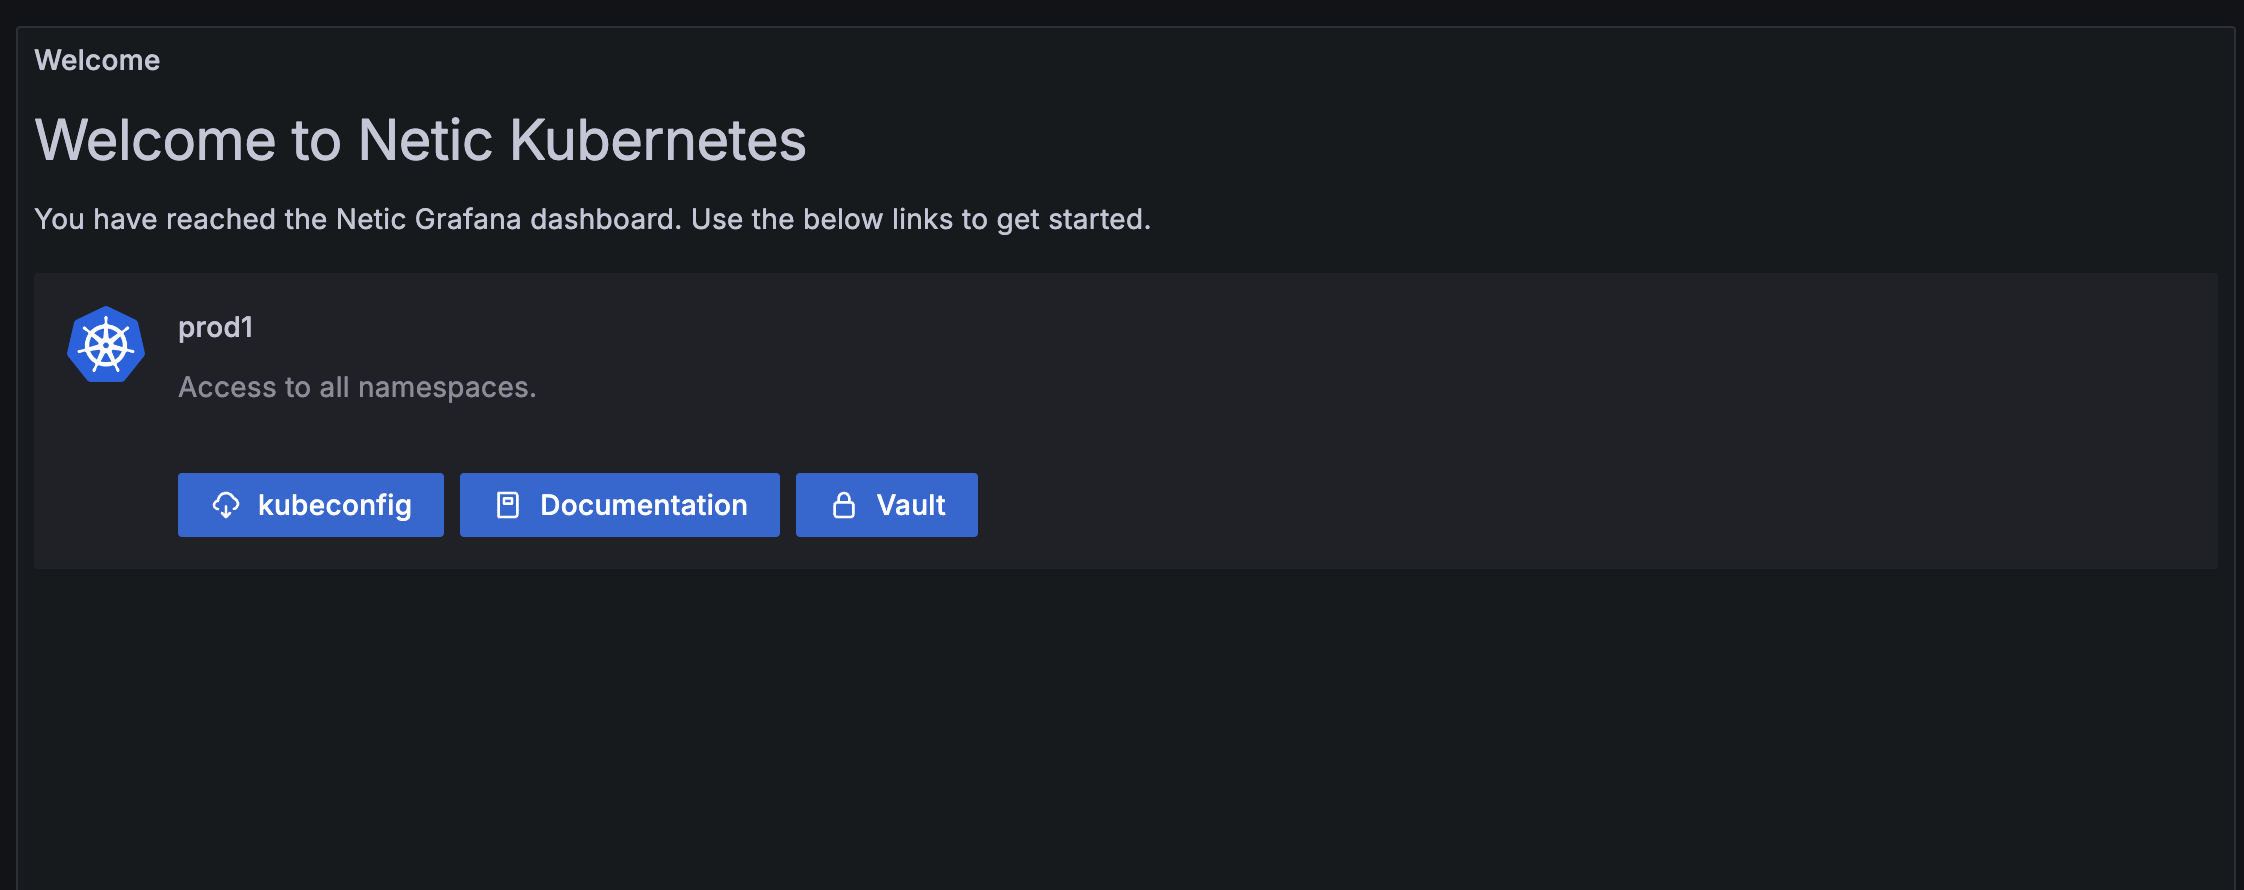
For clusters where the Contain Platform manages the control plane, your primary entry point for accessing cluster information and your configuration file is through a dedicated Grafana instance.
1. Access Grafana and Download Your kubeconfig
Each customer has a central Grafana instance that provides read-only access to logs and metrics for your applications and clusters, as well as links to other services and configuration files.
-
Find Your Grafana URL: The URL for the Grafana instance that shows metrics for your cluster can be found in the Netic Docs space that the cluster belongs to. The general format is
https://<provider-name>.dashboard.netic.dk/, where<provider-name>is the name of the provider your clusters exists under. -
Log In: Log in to Grafana using your provided credentials.
-
Locate Your Cluster: Within Grafana, you can view the clusters and namespaces to which you have access. Here you can also find direct links to other services like Vault.
-
Download
kubeconfig: In your cluster's dashboard, locate and use the download link for your Kubernetes configuration (kubeconfig). This file contains the credentials and endpoint informationkubectlneeds to connect to your cluster's API server.
2. Configure Local Access with kubectl and OIDC
The Contain Platform uses OIDC for secure authentication. To enable this in your
local terminal, you need a helper tool called kubelogin.
-
Install
For other installation methods, please see the official kubelogin installation guide.kubelogin: This is akubectlplugin for OIDC authentication. The easiest way to install it is with a package manager. For example, on macOS with Homebrew: -
Set Up Your
kubeconfig:- Place the
kubeconfigfile you downloaded from Grafana in a secure location (e.g.,~/.kube/). - Point the
KUBECONFIGenvironment variable to your downloaded file. It is common practice to add this command to your shell's startup file (e.g.,~/.zshrc,~/.bash_profile, or~/.bashrc).
- Place the
-
Log In: The first time you run a
kubectlcommand,kubeloginwill automatically open a browser window and prompt you to log in via Keycloak. After you successfully authenticate, it will securely store a token for futurekubectlcommands.
3. Test Your Connection
To verify that everything is configured correctly, run the following command in your terminal:
If the connection is successful, you will see a list of the Kubernetes namespaces that you are authorized to view.
Public Cloud Clusters (AWS, Azure, GCP)
For clusters running on a managed Kubernetes service from a public cloud
provider, you should follow the provider's official documentation for
authenticating and connecting to the cluster. Their command-line tools are
designed to handle the creation and management of your kubeconfig file.
- Amazon EKS: Creating a
kubeconfigfor Amazon EKS - Azure AKS: Connect to an Azure Kubernetes Service (AKS) cluster
- Google GKE: Configure cluster access for
kubectl
Recommended Tool: k9s
While kubectl is the standard command-line tool for interacting with
Kubernetes, many users find a terminal-based UI to be more productive for
day-to-day tasks.
We highly recommend k9s, a powerful tool that provides an interactive dashboard inside your terminal. It makes it easy to navigate your cluster, view the status of your resources, stream logs, and even exec into pods.
You can find the installation guide here: k9s Installation.
GitOps Preparations: Your Repository
The Deployment Service on the Contain Platform uses a GitOps workflow, which means your Git repository is the single source of truth for your applications.
We can provide you with a Git repository with the necessary credentials to get started, or you can bring your own. The most important first step is to establish a clear and scalable directory structure.
We recommend following the structure advised by the Flux community, which separates concerns between cluster-level configuration and application workloads.
A good starting point for your repository structure looks like this:
.
├── clusters
│   └── my-cluster          # Contains the Flux configuration for your cluster
│       └── apps-sync.yaml
└── apps
    └── base                # Contains the manifests for your applications
        ├── app1
        └── app2
clusters/: This is the entry point for Flux. It defines which sets of applications should be deployed to a cluster.apps/: This directory contains the actual Kubernetes manifests (Deployment,Service, etc.) for each of your applications.
Deploying Your First Application ("Hello World")
This example will guide you through deploying a basic web application called
podinfo using the GitOps workflow.
Step 1: Create the Application Manifests
First, create a directory in your Git repository for your new application:
apps/hello-world/. Inside this directory, create the following three files.
This file tells Kustomize which other files in this directory make up the application.
# apps/hello-world/kustomization.yaml
apiVersion: kustomize.config.k8s.io/v1beta1
kind: Kustomization
resources:
  - namespace.yaml
  - deployment.yaml
  - service.yaml
This file defines the Namespace for your application.
This file defines the Deployment, which tells Kubernetes how to run the
podinfo container.
# apps/hello-world/deployment.yaml
apiVersion: apps/v1
kind: Deployment
metadata:
  name: podinfo
  namespace: hello-world
spec:
  replicas: 2
  selector:
    matchLabels:
      app: podinfo
  template:
    metadata:
      labels:
        app: podinfo
    spec:
      containers:
      - name: podinfod
        image: stefanprodan/podinfo:6.0.0
        ports:
        - containerPort: 9898
This file defines the Service, which provides a stable internal network
endpoint for your application's pods.
# apps/hello-world/service.yaml
apiVersion: v1
kind: Service
metadata:
  name: podinfo
  namespace: hello-world
spec:
  type: ClusterIP
  selector:
    app: podinfo
  ports:
  - port: 9898
    targetPort: 9898
Step 2: Tell Flux to Deploy the Application
Now, create a file in clusters/my-cluster/hello-world-sync.yaml. This
Kustomization resource tells Flux to find the application manifests you just
created and apply them to the cluster.
# clusters/my-cluster/hello-world-sync.yaml
apiVersion: kustomize.toolkit.fluxcd.io/v1
kind: Kustomization
metadata:
  name: hello-world
  namespace: flux-system
spec:
  interval: 5m0s
  path: ./apps/hello-world  # Path to the application manifests
  prune: true
  sourceRef:
    kind: GitRepository
    name: flux-system # This should match the name of the GitRepository resource Flux is using
Verify Your File Structure
Before you commit your changes, your repository should have the following new files and directories. The final structure will look like this:
.
├── apps
│   └── hello-world
│       ├── deployment.yaml
│       ├── kustomization.yaml
│       ├── namespace.yaml
│       └── service.yaml
└── clusters
    └── my-cluster
        └── hello-world-sync.yaml
Step 3: Commit and Push to Git
Commit all your new files to the Git repository and push them to the main
branch.
The Deployment service (Flux) will automatically detect these changes in your repository and apply the manifests to your cluster.
Step 4: Verify the Deployment
After a few minutes, you can verify that your application is running. Use your
kubectl connection to check the status of the pods in the new hello-world
namespace.
You should see two podinfo pods with a status of Running.
NAME                      READY   STATUS    RESTARTS   AGE
podinfo-7d7d4f7b6-abcde   1/1     Running   0          2m
podinfo-7d7d4f7b6-fghij   1/1     Running   0          2m
Step 5: Access Your Application with Port Forwarding
The ClusterIP service is only accessible from within the cluster. For quick
testing, you can use kubectl port-forward to open a secure tunnel from your
local machine to the service.
Now, open your web browser and navigate to http://localhost:9898. You will see
the podinfo welcome page.
What's Next?
Congratulations! You have successfully deployed your first application to the Contain Platform using a GitOps workflow.
The "Hello World" example is running, but it's only accessible from your local machine. To make your application accessible to the public internet, you will need to:
- Expose your service publicly: Learn how to use the Service Proxy and the Gateway API to create a public URL for your application.
- Secure your service with TLS: Learn how the Certificates service can automatically provision and renew TLS certificates for your public endpoints.
- Manage application secrets: Learn how to use the Secrets service to securely provide your application with database credentials, API keys, and other sensitive data.